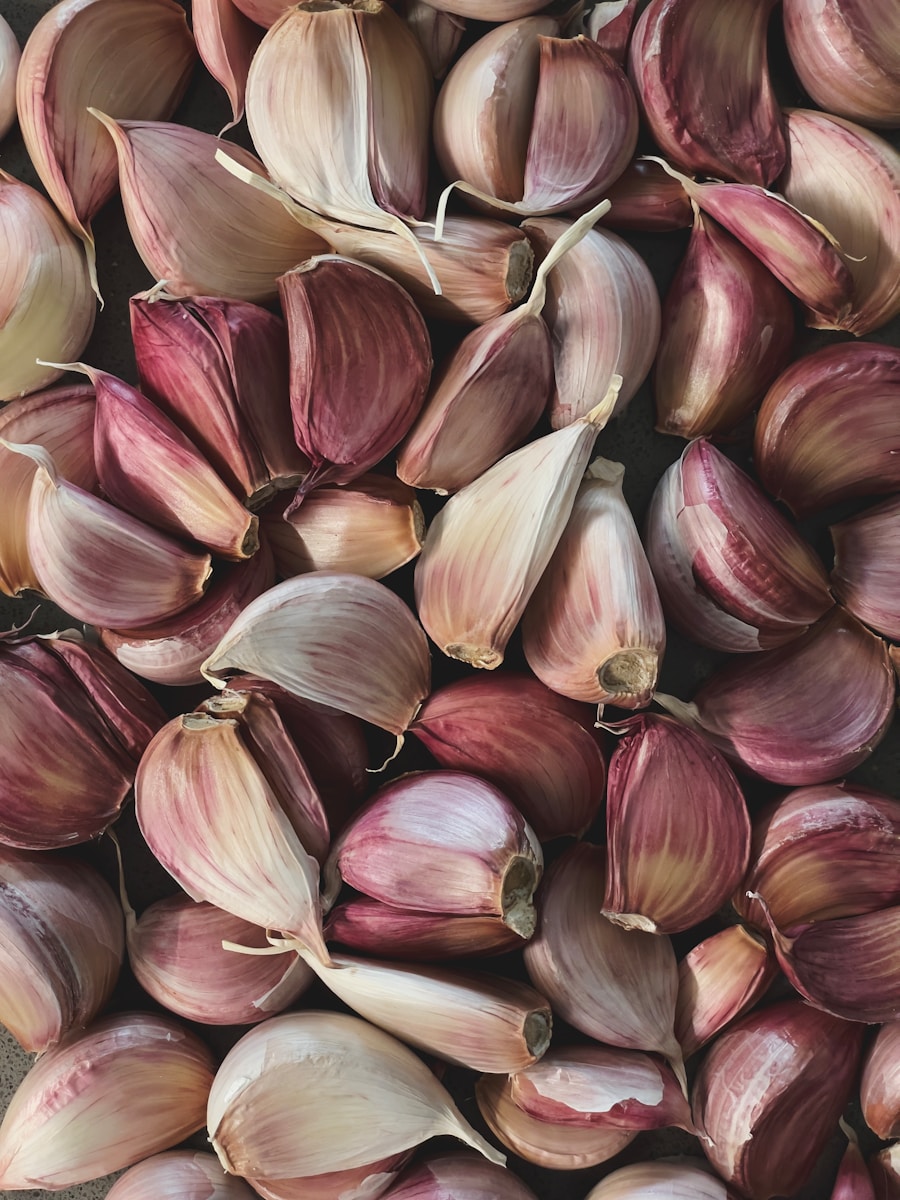
Growing garlic from a clove started as a fluke when I tossed one in a pot on my Utrecht balcony – now it’s my favorite way to get fresh bulbs without much fuss! It’s so simple I’ve done it in pots and patches ever since, even with my chaotic gardening skills. Here’s how I make it work – flops and all!
What You Need
Nothing fancy – just these:
- 1-2 garlic cloves – grab them from your kitchen or a market.
- A pot or garden spot – I use a 1-gallon (4-liter) pot.
- Loose, rich soil – I mix in some compost (1 cup/250 g).
- Water – about ½ cup (120 ml) to start.
- A sunny spot – my balcony gets 6 hours of light.
How to Do It
Step 1: Pick Your Cloves
Grab a fat, firm garlic clove – I tried a shriveled one once and got zilch. Don’t peel it – the skin stays on. Fall’s best for planting (October-November), but in milder zones, early spring (March) works too.

Step 2: Plant for Growing Garlic from a Clove
Push the clove 2 inches (5 cm) deep into loose soil, pointy end up – I drowned my first batch with heavy clay. Space them 4-6 inches (10-15 cm) apart in a pot or patch. Water lightly – ½ cup (120 ml) keeps it moist, not soaked.
Step 3: Wait It Out
Set your pot in a sunny spot – 60-70°F (15-21°C) is ideal. Shoots pop up in weeks, but bulbs take 6-9 months. I forgot to water once in a dry spell – total fail. Keep soil damp, especially in hotter climates.
Step 4: Harvest Time
When the leaves yellow (June-July), dig up your bulbs – my first haul was tiny, but still tasty! Dry them out for 2 weeks at 75°F (24°C), then store – 1 clove grows a 2-3 oz (56-85 g) bulb.
Growing garlic from a clove is a lazy gardener’s dream – my balcony churns out enough for cooking all year. It’s foolproof once you get the hang of it – plant one today and see!