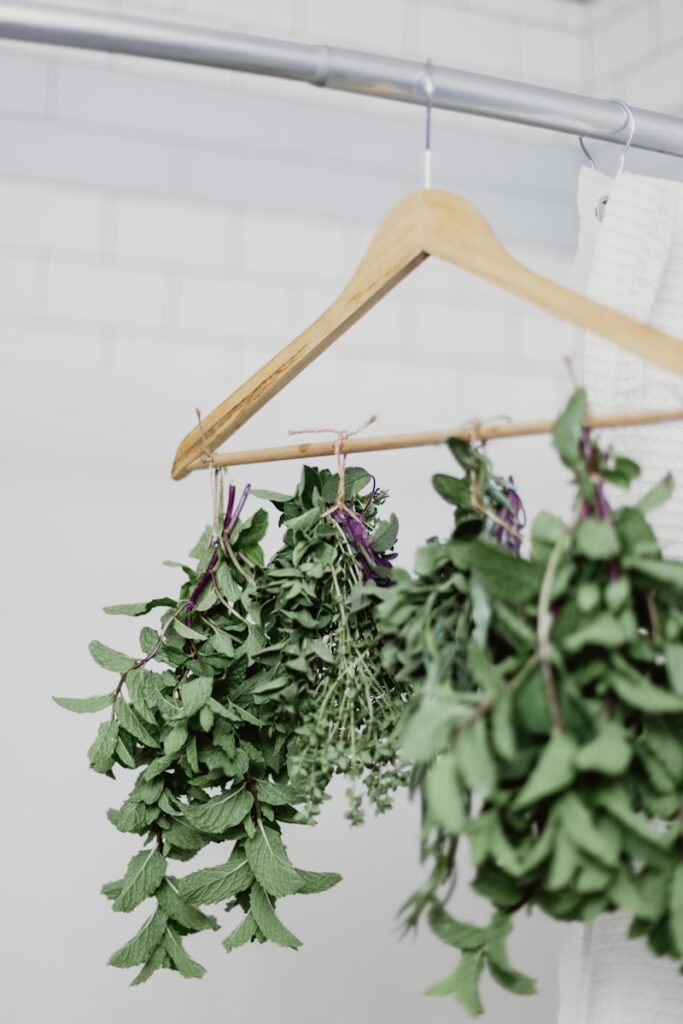
Drying mint for tea became my obsession after I grew too much on my balcony – those little pots turned into a jungle, and I couldn’t let it go to waste! It’s so easy I now do it every summer, turning fresh leaves into a stash that lasts all year. Here’s my chaotic-but-effective method – flops included!
What You Need
Bare basics – you’ve probably got this:
- A handful of fresh mint – I snip mine from my pots.
- Scissors or a knife – my dull kitchen pair still works.
- String or rubber bands – for bundling.
- A dry, airy spot – my kitchen shelf does fine.
- A paper bag (optional) – keeps dust off.
How to Do It
Step 1: Harvest Your Mint
Snip your mint on a dry morning – I go for July when it’s bushy. Cut 6-12 inch (15-30 cm) stems just above a leaf pair. My first batch was after rain – big mistake, it got moldy fast.
Step 2: Prep for Drying Mint for Tea
Rinse the stems lightly under water – shake off excess and pat dry with a towel. Bundle 5-10 stems with string – I overdid it once with a giant clump that wouldn’t dry. Keep it small!

Step 3: Hang It Up
Tie your bundles upside down in a dry, ventilated spot – my kitchen hits 70-80°F (21-27°C), ideal for summer drying. No direct sun – it bleaches the flavor out. In humid climates, use a paper bag with holes to avoid rot; drier zones can skip it. Wait 1-2 weeks till they’re crispy.
Step 4: Store and Sip
Crumble the dry leaves into a jar – I got lazy once and left stems in, total mess. Seal it tight – 1 oz (28 g) makes about 20 cups of tea. Keeps for a year, perfect for cozy winter nights!
Drying mint for tea is a no-brainer – my balcony barely fits the pots, but I’ve got jars full now. It’s a quick win for any herb lover – try it, you’ll never buy tea bags again!