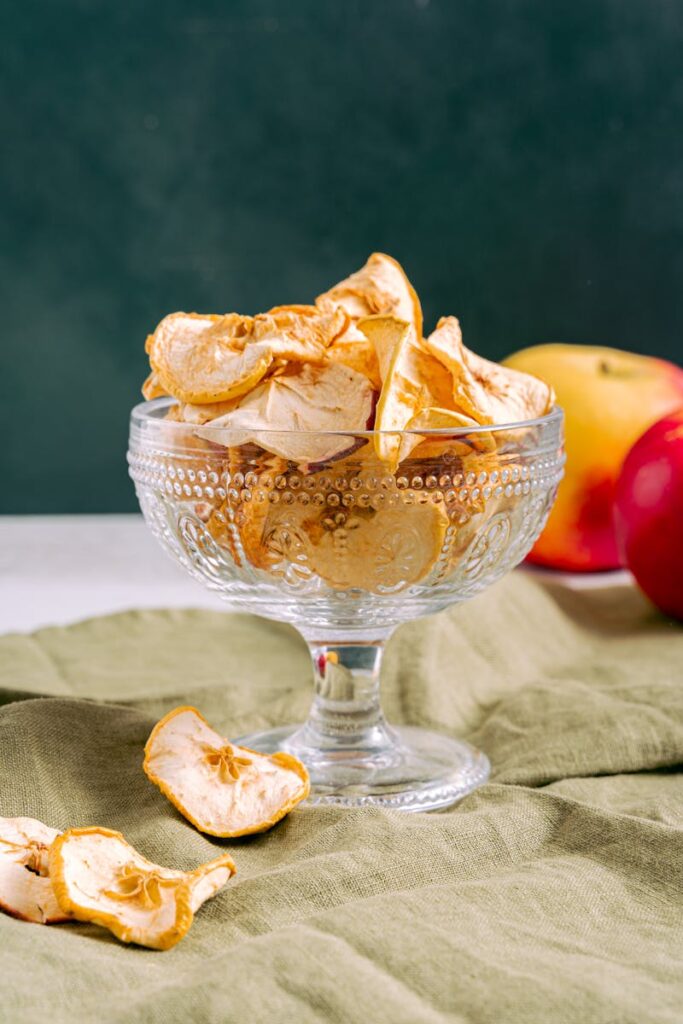
Drying apples at home turned into my go-to trick when a neighbor dumped a bag of windfalls on my doorstep – who knew you could transform soggy fruit into a chewy treat right in your own kitchen? I’m no pro, just a Dutch DIYer messing around with a handful of apples and some patience, and now I’ve got snacks that beat anything from the store – no fancy dehydrator needed! It started as a way to save a bumper haul from going to waste, but it’s turned into a staple for my pantry, perfect for munching through winter or tossing into a trail mix when I’m craving something sweet. I’ve had my share of flops – like the time I left a batch too long and got apple chips harder than my cutting board – but those fumbles taught me what works. Here’s how I dry apples at home, step by step, with all the chaos included!
What You Need
You don’t need much to get started – just a few basics most folks already have lying around. Grab 4-6 medium apples – about 2 lbs (0.9 kg) – any variety works, though tart ones like Granny Smith hold up great. I’ve used bruised windfalls too – just cut out the bad bits and you’re good to go. You’ll need a sharp knife and cutting board – my old kitchen blade still cuts fine, even if it’s a bit worn. A couple of baking sheets are key – line them with parchment if you’ve got it, or skip it like I did my first time and deal with the sticky aftermath! An oven’s all the heat you need – I set mine to 200°F (93°C) – but a sunny spot works if you’re air-drying outdoors. Add a bowl with 1 quart (1 liter) of water and 2 tablespoons (1 oz/30 ml) lemon juice to keep the slices from browning – I skipped this once and ended up with gray snacks that looked less than appetizing. That’s it – simple stuff for drying apples at home!
How to Do It
Step 1: Pick and Prep Your Apples
Start with those apples – hit up a market, raid your tree, or snag some from a friend like I did when I first tried drying apples at home. Wash them well – 1 quart (1 liter) of water gets rid of dirt or bugs. I forgot this step once and crunched on grit – not my proudest moment! Core them if you want a polished look, but I usually leave mine intact for a rustic feel – just slice them thin, about ¼ inch (0.6 cm) thick. Too thick, and they take forever to dry; too thin, and they turn into crispy dust – my first batch was a messy mix of both. Toss the slices in that lemon-water mix – 2 tablespoons (1 oz/30 ml) lemon juice in 1 quart (1 liter) – and let them soak for 5 minutes. It keeps them pretty – I learned that the hard way after a gray flop! For more apple variety tips, check out the USDA’s guide on apple cultivars.
Step 2: Set Up Your Drying Station
Drain those slices and pat them dry with a towel – wet apples steam instead of dry, and I’ve steamed a batch into mush before figuring that out. Lay them out on your baking sheets in a single layer – no overlapping, or you’ll get soggy spots like I did on my rookie run. If you’re oven-drying, preheat to 200°F (93°C) – low and slow is the key to success. I cranked it to 300°F (149°C) once, thinking faster was better – burnt edges taught me patience quick! No oven? Spread them on a screen or rack in a sunny spot – 75-85°F (24-29°C) works if you’ve got a dry week ahead. I tried air-drying during a rainy spell once – moldy disaster! Either way, drying apples at home starts with this simple setup – nothing fancy needed.

Step 3: Dry ‘Em Out
Pop those sheets in the oven – 200°F (93°C) for 2-3 hours does the trick, flipping the slices halfway through. I forgot to flip once and got half-crisp, half-chewy apples – not terrible, but uneven. Check every 30 minutes after 2 hours – you want them leathery, not brittle. Mine took 3 hours at 190°F (88°C) one time – ovens vary, so keep an eye on them! Air-drying? Leave them in the sun for 2-4 days – I turn mine daily to avoid dampness. In colder zones, start this in summer when it’s dry; warmer spots can go late spring at 70°F (21°C). The process fills your space with an apple-cinnamon vibe – it’s like a free aromatherapy session while drying apples at home!
Step 4: Cool and Store
Pull them out when they’re pliable – let them cool at 70°F (21°C) for an hour before handling. I snatched a hot batch once and burned my tongue – rookie move! Test a piece – it should bend without snapping. Too soft? Pop them back in for 30 minutes. Pack them into jars – 2 pints (32 oz/946 ml) fit my usual haul – and store at 35-40°F (2-4°C). They last months – I’ve got some from last fall still holding strong! Pair them with <u>Drying Mint for Endless Flavor</u> for a killer tea combo. For extra drying tips, peek at this guide from Penn State Extension. Drying apples at home keeps my pantry stocked with sweet wins!